Scheduled Reports
INFO
Your account may not have access to the Scheduled Reports feature.
Scheduled Reports allow you to automatically email the results of a dashboard or query on a recurring schedule. Each time the report runs, the date range is automatically updated to match the latest applicable reporting period.
Creating a Report
There are two ways to create a new scheduled report:
From the Scheduled Reports page
Navigate to Scheduled Reports in the left sidebar and click New report in the top-right corner.From a dashboard or query
Open any dashboard or query and click the three dot actions menu (top right, near the save button). Select Create scheduled report to open the report creation screen pre-configured with that dashboard or query as the source.
Once on the report creation screen, you will configure the report in three general parts: schedule, source, and output.
Schedule
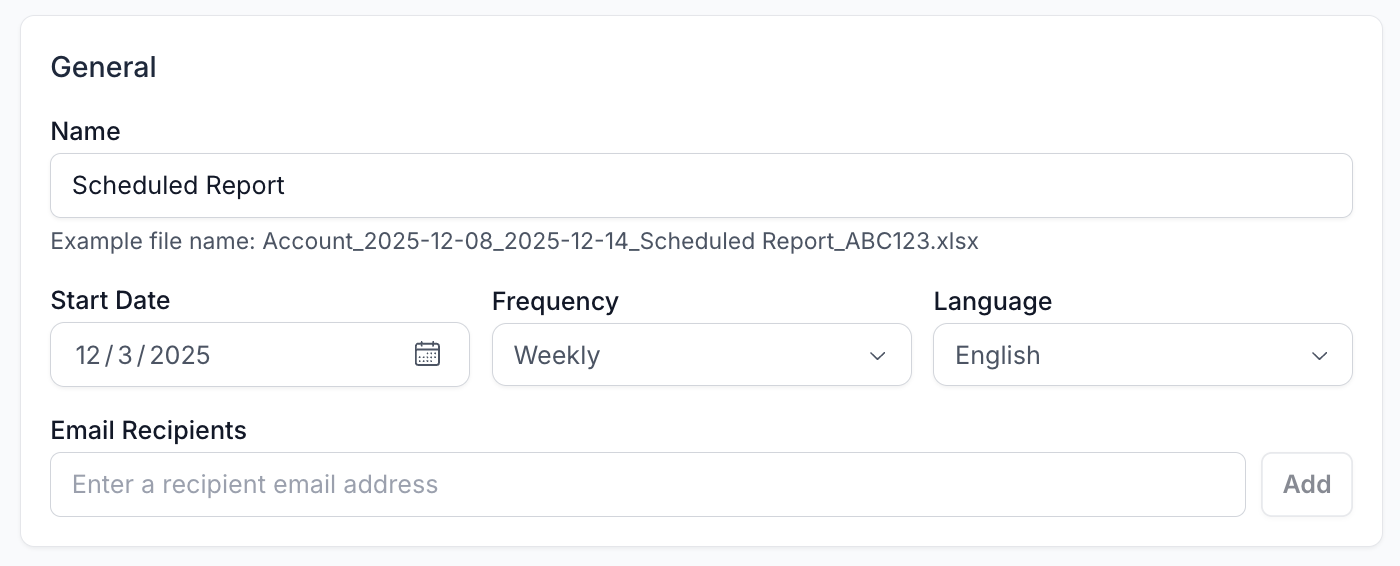 Figure 1: Schedule Settings
- Name — A descriptive name to help you identify the report later.
- Start Date — The date from which the scheduler will begin evaluating the report.
Set this date in the past to have the report start running immediately. - Frequency — How often the report runs (daily, weekly, monthly, or quarterly).
- Language — The language used for the email template that accompanies the report.
TIP
The panel on the right shows the next five scheduled evaluation times so you can verify your configuration at a glance.
Source
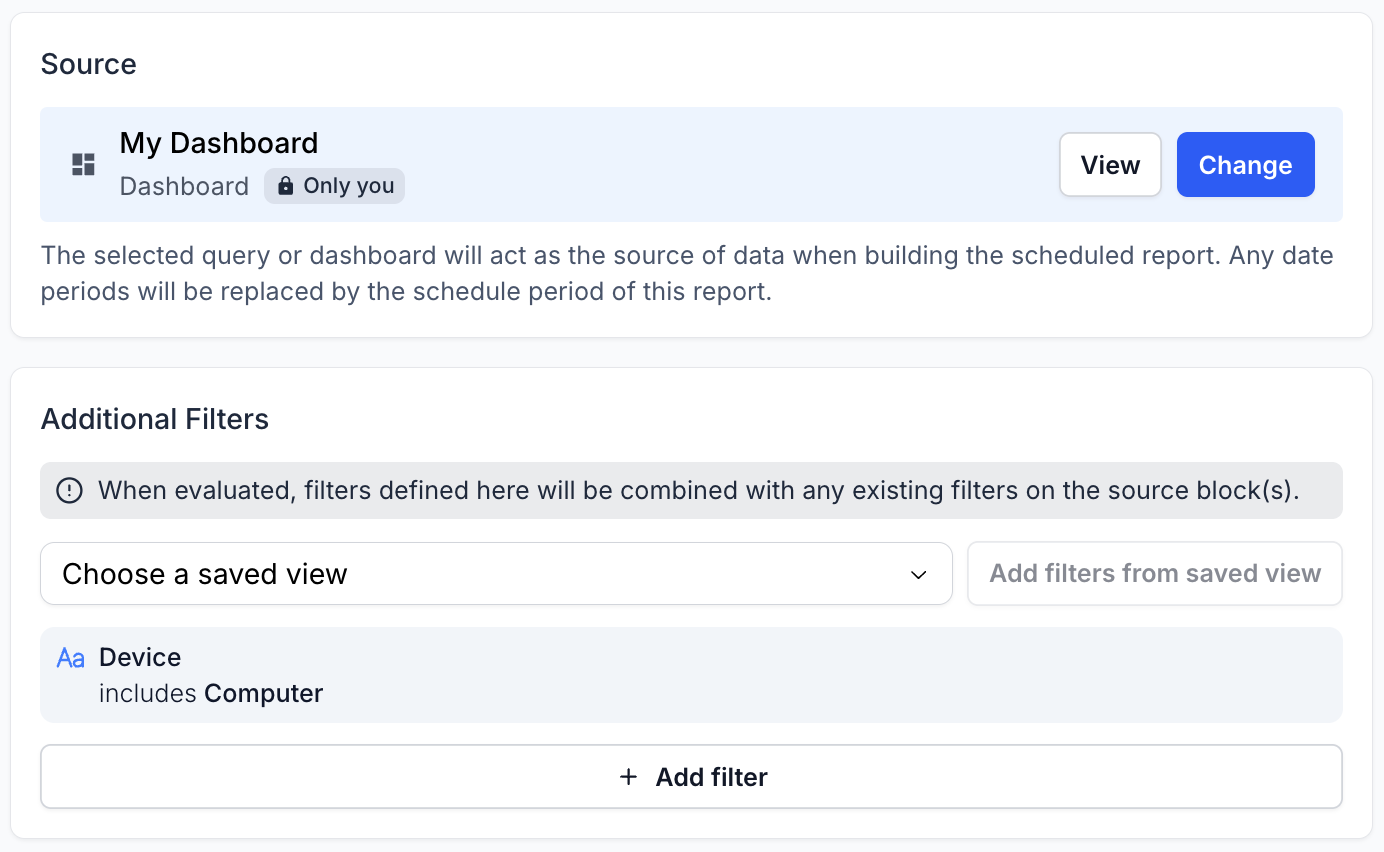 Figure 2: Source Settings
A scheduled report is always based on an existing query or dashboard. This keeps setup simple as there’s no need to recreate logic for the report itself. However, keep in mind:
- Any edits to the underlying query or dashboard will automatically affect all scheduled reports that reference it.
- If the source contains filters, they will still be applied during report execution.
You may optionally add Additional Filters that apply to the scheduled report. These are combined with any existing filters defined within the referenced query or dashboard blocks.
Output
 Figure 3: Output Settings
You can choose between two output formats:
- XLSX
- CSV (either a single CSV or, for dashboard-based sources, a ZIP containing multiple CSVs)
XLSX Templates
When exporting as XLSX, you can optionally upload a template workbook. Instead of generating a new file, the system will:
- Clone your template file
- Insert each dataset into the correct worksheet locations based on your Mapping settings.
Mapping simply specifies which sheet is replaced with which dataset (block results).
Sending to an Endpoint
You can optionally have the generated report sent automatically to an FTP endpoint. For details on configuring endpoints, see the Endpoints documentation.
Running a Report Off Schedule
You can manually trigger a report at any time:
- Open the report for editing.
- Click the three dots in the top-right corner (near save button).
- Select Evaluate.
You will then choose between:
- Evaluating for the latest scheduled period (based on the report’s frequency)
- Evaluating for a custom date range.
This feature is helpful for generating one-off reports.
Tips & Best Practices
- To avoid unintended changes, Fanplayr recommends creating a dedicated dashboard or query for each scheduled report.
- When using a template XLSX, keep your mapping configuration documented so other team members can maintain it easily.
- Review the upcoming evaluation times (shown in the editor sidebar) to confirm that your schedule is set correctly.