Basic Shopper Tutorial
Follow this tutorial to learn how to create a Personal Shopper.
For prerequisites please review the Creating Personal Shopper documentation. You must a valid product Catalog and at least one enabled recommendation model for your Catalog. Additionally, for this tutorial, you must have a valid embed URL on your site and corresponding embed selector.
1. Create from Shopper List;
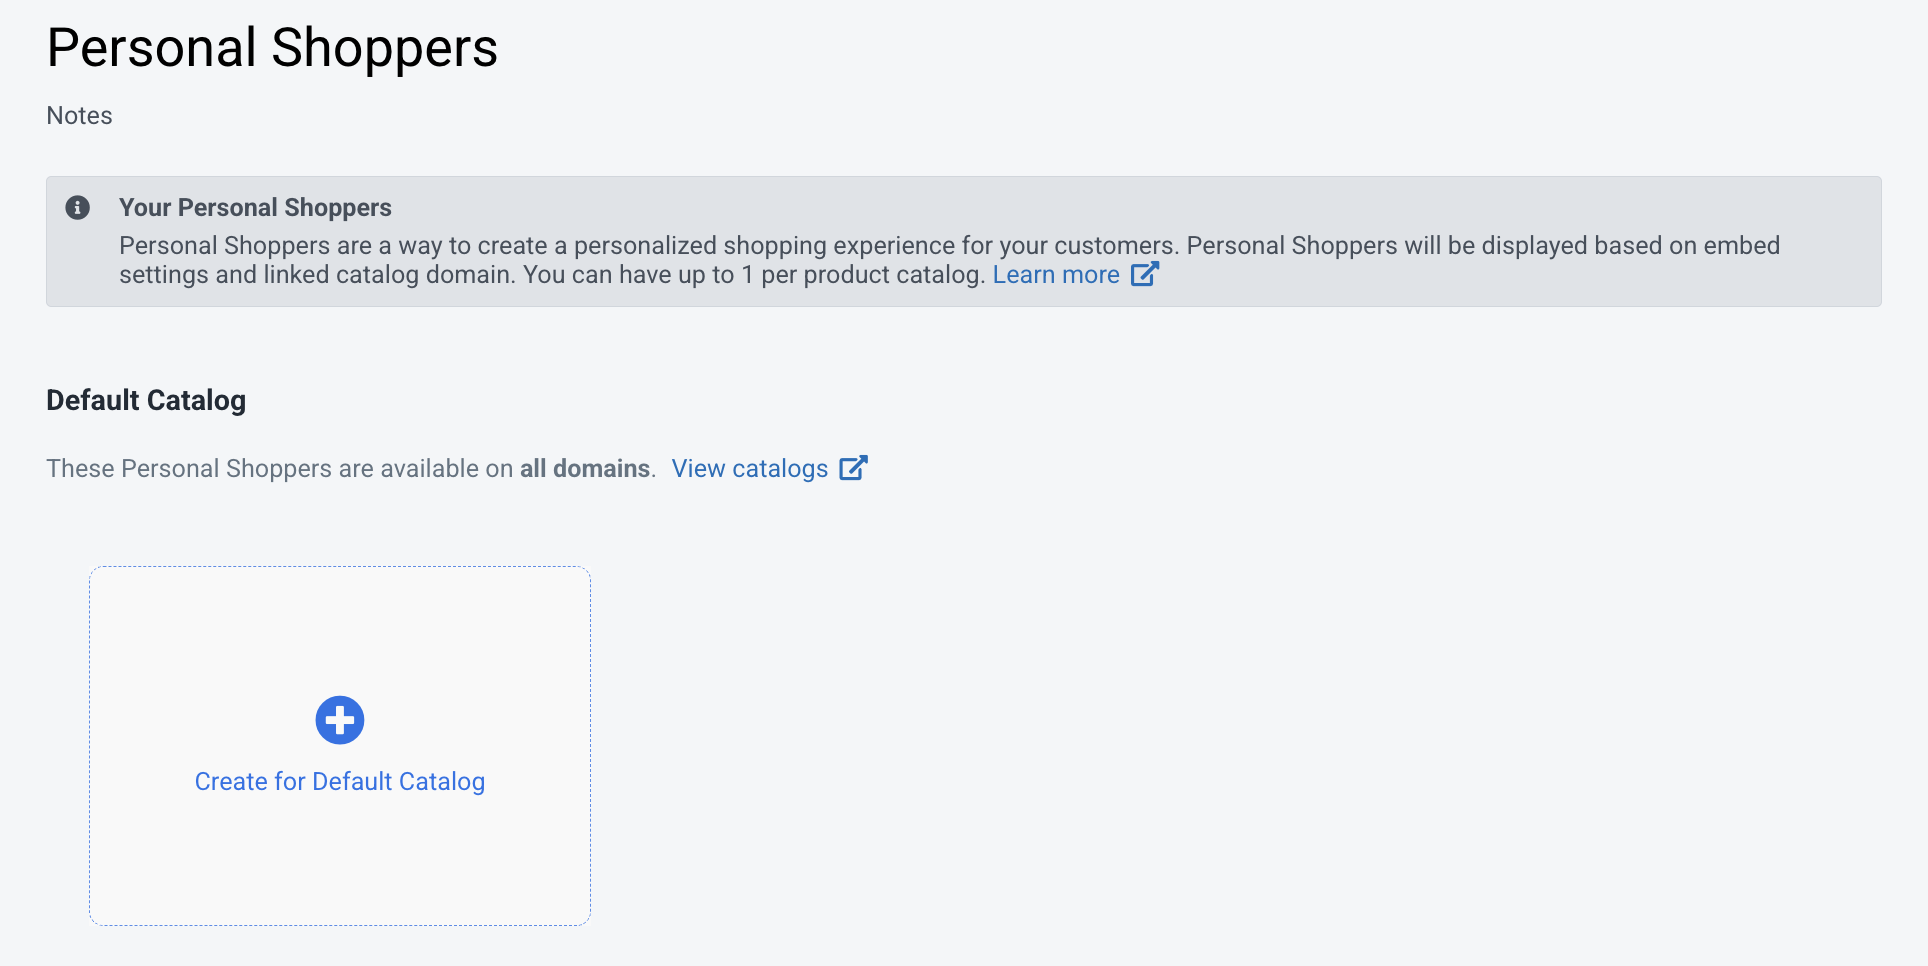
Figure 1: Shopper List
Click "Create shopper for Default Catalog" to start the creation process for your first Personal Shopper.
2. Define Widget Level Config
.UmK9s5hU.png)
Figure 2: Widget Level Config
Click "General Settings" on the left and enter your Embed URL and Embed Selector in the "Widget Level Config" setting group in the right sidebar. In Figure 2 the values entered are:
- Embed URL:
https://fp-dev-1.myshopify.com/pages/personal-shopper - Embed Selector:
#fp_personal_shopper- this will target an HTML element with id="fp_personal_shopper".
3. Select Product Source
.Cp5BSpWT.png)
Figure 3: Product Source Setting
The next step is to configure the Product Source setting. Click the recommendation component and then "Change" under the "Product Source" setting in the right sidebar.;
In the popup, set the "Model" setting to "Recommended For You (Fanplayr AI)". This tells the system to use Fanplayr's internal "recommended for you algorithm" to determine products to show in this recommendation section.;
To make the Personal Shopper slim in this example, set the "Product Limit" setting to 5. This means that a maximum of five products will be shown in this recommendation component.
Click "Update" to confirm changes.
4. Customize Product Tiles
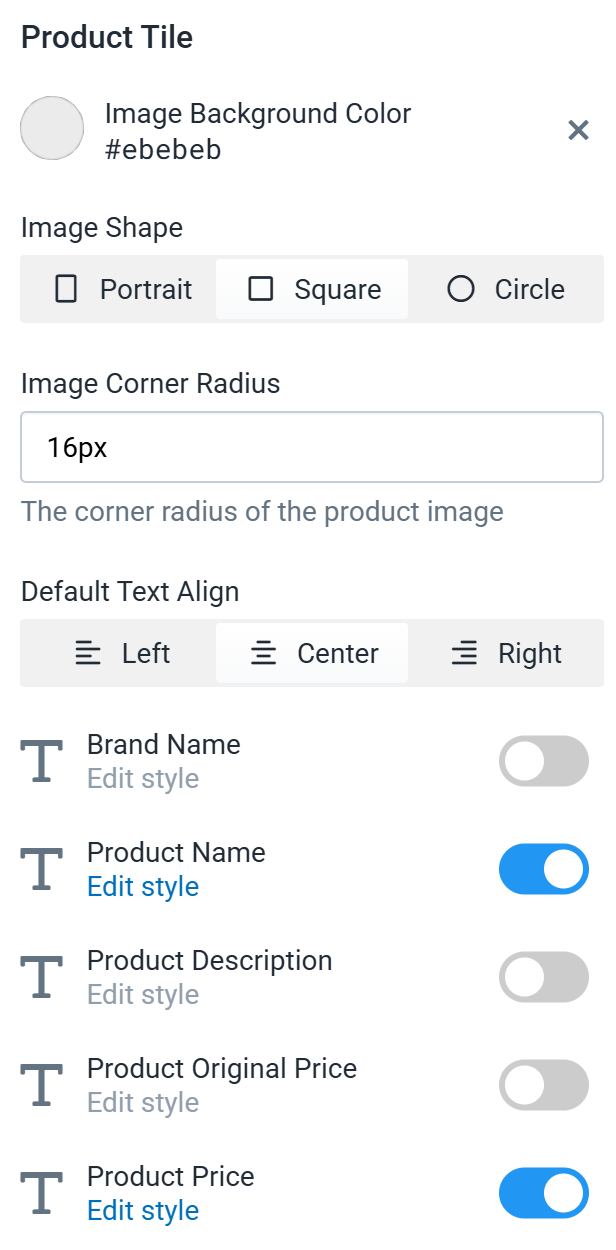
Figure 4: Product Tile
Scroll down in the component settings to the "Product Tile" section. Here we will make a few small changes to improve the look of the product tiles.;
- Set the "Image Background Color" to a neutral color like a light-grey. This setting will add a background color to any product images that contain transparent areas.
- Set the image shape to "Square".
- Set the "Image Corner Radius" to
16pxto add some nice round edges to your product images. - Click "Edit style" under "Product Price". This will open replace the sidebar with a setting editor specific to the "Product Price" setting here. Find the "Italic" checkbox and ensure it is enabled. This gives the product prices a slightly sleeker look. Make sure to click the back button at the top of the editor to get back to the rest of the component settings.
5. Publish Shopper
Your products should look like what is shown in Figure 5. If products are missing, it could be because of a lack of training data required to show "Recommended for you" products. Try changing the model to a different algorithm like "Ranking by Views" if this happens.
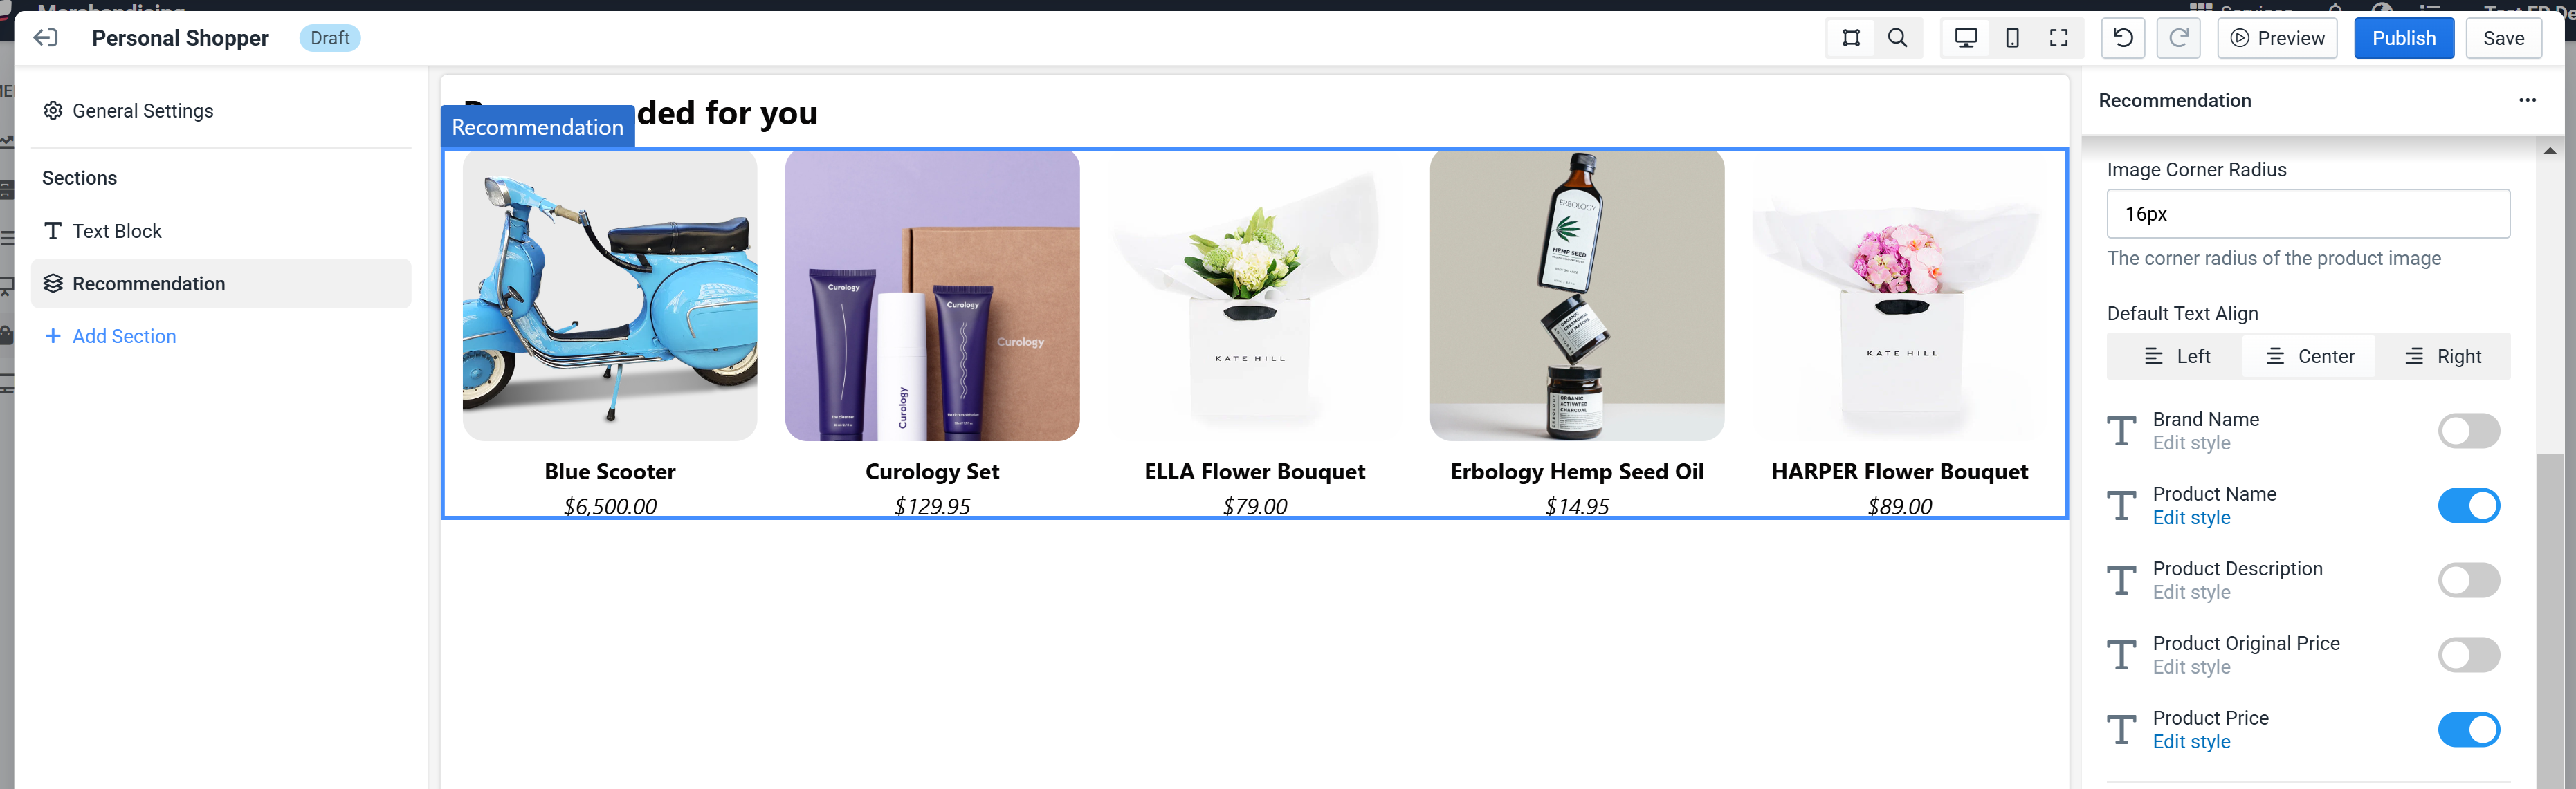
Figure 5: Shopper with updated product tiles
Feel free to customize more settings in your Personal Shopper. Once you are happy, click "Publish" and confirm when asked. The Personal Shopper will be published immediately upon confirmation.
6. View Shopper on Site
Navigate to the URL as defined in your "Embed URL" setting, and see your personal shopper live on your site!
.ufm5AyeI.png)
Figure 6: Personal Shopper live on site
Troubleshooting
I don't see the personal shopper on my site
- Ensure Fanplayr's script is running on your site.
- Double check your Embed URL and ensure the Embed Selector exists on that page.
I see the heading but no products
- The most common cause of this is that the selected model does not return any products. This could be a lack of training data or a lack of product in your Catalog. Contact your Fanplayr representative for help.
My shopper looks a little different live than in the editor
- Personal Shoppers inherit some CSS from your page, including most notably the
font-familywhich controls the look of your text. Look into using the Live Preview feature to see how your Personal Shopper will look on your site before publishing.