Editing
Exports are created using the editor as documented here.
Existing Exports cannot be edited after creation (other than enabling/disabling/deleting). This is primarily so that you can accurately trace the data exported to the fields, filters, and other settings that originally generated this data. If you want to create another similar Export, feel free to copy the existing Export.
The number of rows in the preview section will always reflect the current filters and fields (if evaluated now). It is not necessary indicative of the number of users / events when the last time the Export ran.
Enabling + Disabling
When you create a new Export, it is initialized as disabled. To enable an Export click the toggle switch at the top-right of the screen. You can enable or disable an Export at any time.
Disabled Exports will never be evaluated. Enable the Export to restart the process of evaluation based on the defined schedule.

Figure 1: Toggle Status
General
The general section of the Export editor is where you can set the name of the Export. This name is used to uniquely identify the Export across the portal.

Figure 2: General Section
Destination Details
In this section, you can choose to select one or more supported Destinations to receive the results of the Export process. In addition, you can select the format of the exported data (CSV or JSON).
You do not have to choose a Destination if you wish to receive your exported data via using the "Download latest" feature.

Figure 3: Destination Details
Schedule
You have the option to schedule your Export based on two frequencies: Hourly and Daily. If set to daily, you can select the time of day that the Export will be evaluated. This time will be evaluated using your account time zone.

Figure 4: Schedule
Filters
Exported data can be filtered using the same filter component as is used in Audiences and Automations. You are able to include Audiences as a filter in an Export.
Typically in other places, the date period editor in the filter component is only editable if you are filtering on at least one event attribute. Exports is a little different b/c the existence of the date period depends on the existence of event-based fields rather than just the filters. See Users or Events.
Please review the Filters documentation for more information.
Fields
You have complete control over exactly what data is extracted from Fanplayr 360 and exported. Use the field selector, which is similar to the output selector in Destinations, to choose which fields are exported. The system generates a unique alias based on the selected field. This will appear as the column name (CSV) or object key (JSON). These alias values are editable, but the uniqueness must remain intact.
"Consent Value" can be selected as an output field in the same way as in destinations. View the destination output documentation for more information.
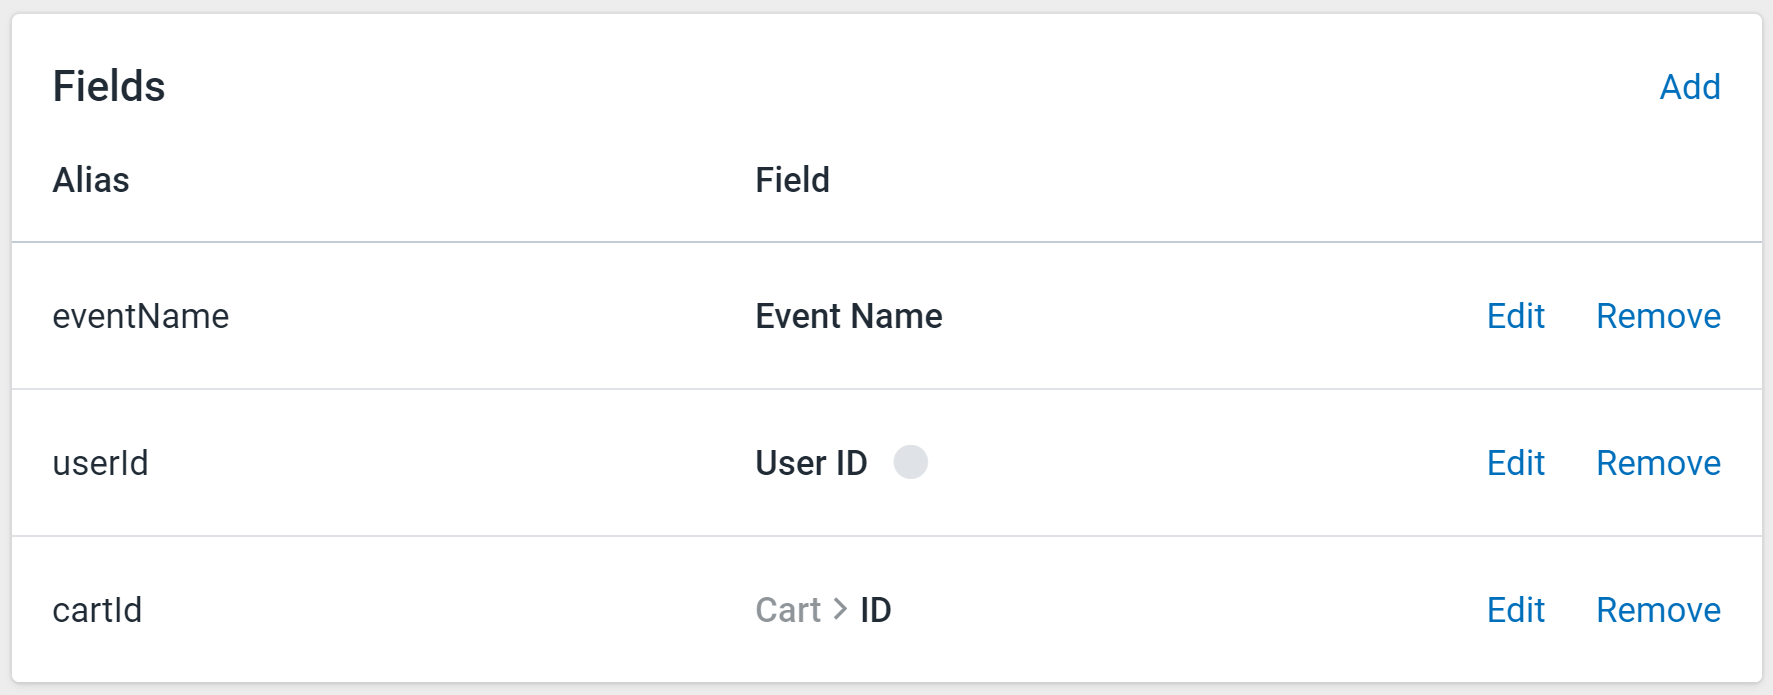
Figure 5: Fields Section
Users or Events
Fanplayr 360 Exports can be used to get event based data (one row per event) or user based data (one row per user). This depends entirely on the fields selected, and the type plays a role in some other settings.
- Event: If any of the fields reference an event attribute (non-user), then the resulting output of the export will contain one row per event.
- User: If all of the fields reference user attributes, then the resulting output of the export will contain one row per event.
If the Export is in "event mode", then the date period in the filter component must be set. This is true even if no event attributes are referenced in a filter. In this situation, the system needs to know how far back it should look when extracting data to export. This date value in the filters would govern that.