Editing
Pipelines consist of two basic parts: source settings and destination settings. Unlike Automations, there is no special logic or filtering that is applied to events as they pass through the Pipeline. You can think of Pipelines as a straight-forward "data in and data out" system.
General Settings
Much like other items in Fanplayr 360, you must specify a name that will uniquely identify the Pipeline across the system.
Using the toggle switch on the top-right side of the editing screen, you can easily enable or disable the Pipeline. See List to learn more about what the Pipeline status means.
Source Settings
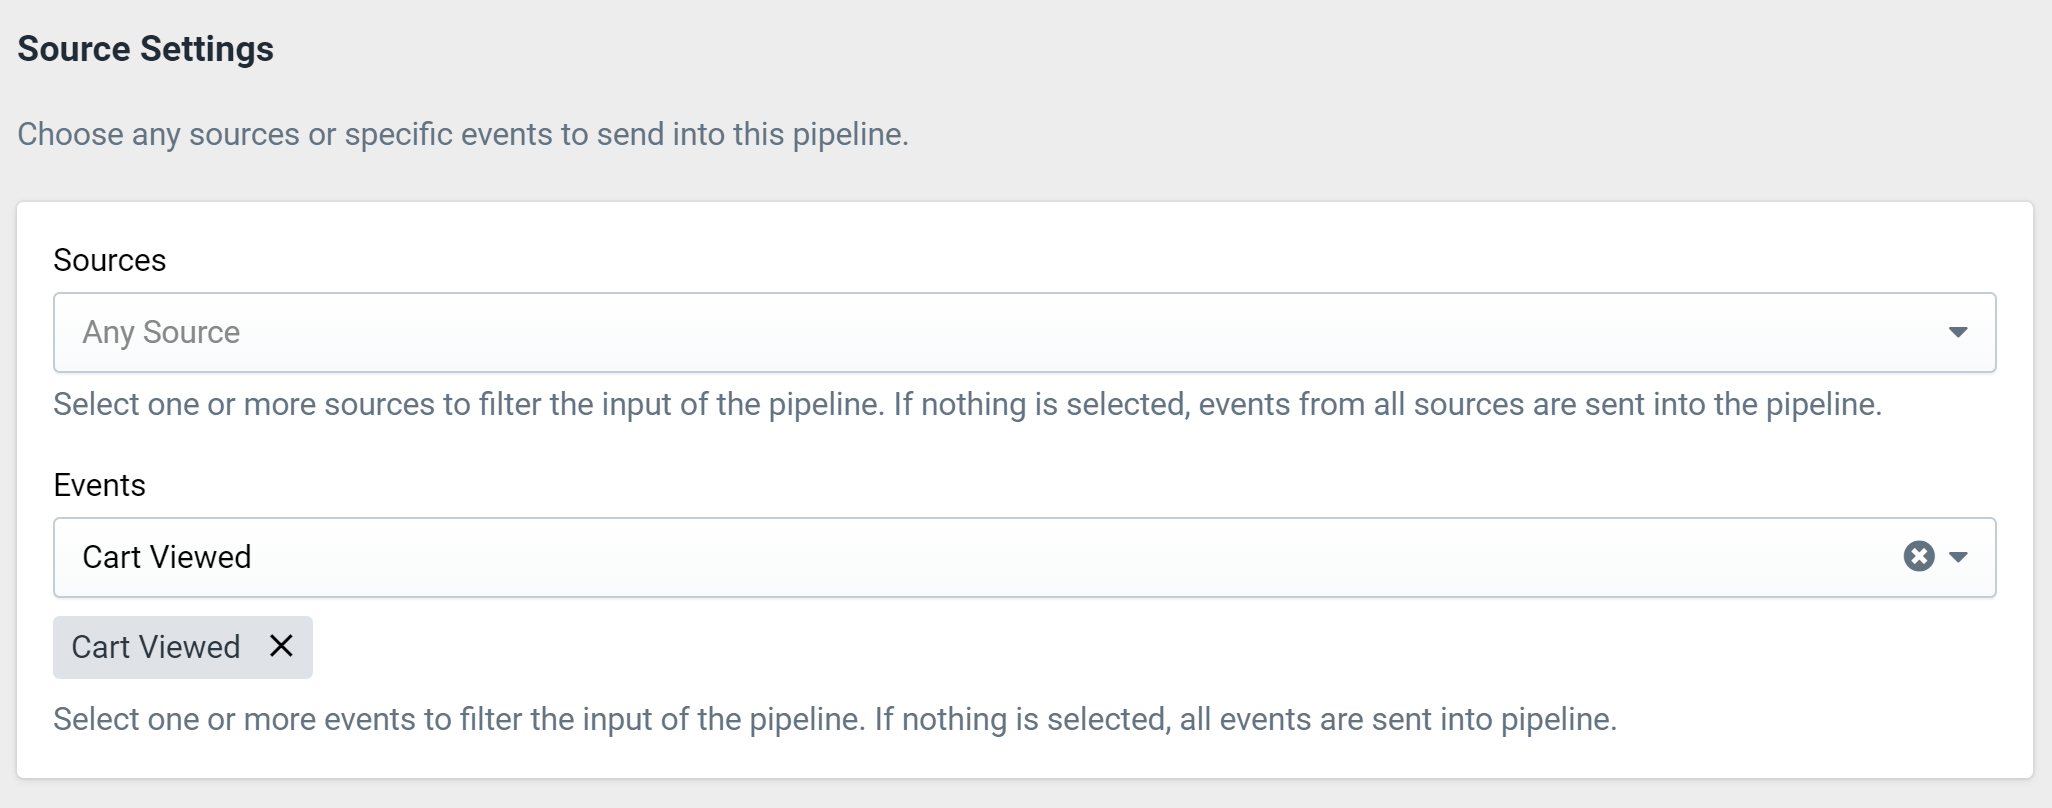
Figure 1: Source Settings
Pipelines are triggered based on events entering Fanplayr 360. This section allows you to customize exactly which events trigger the Pipeline and from which sources. The dropdown of sources consists of all enabled Sources, and the dropdown of events consists of all events present in the Data Dictionary.
If no sources are selected, events matching the event selection will trigger the Pipeline no matter the source. If no events are selected, events coming from sources matching the source selection will trigger the Pipeline no matter the event. Of course, if no events or sources are selected, the Pipeline will be triggered by any event on any source.
Destination Settings
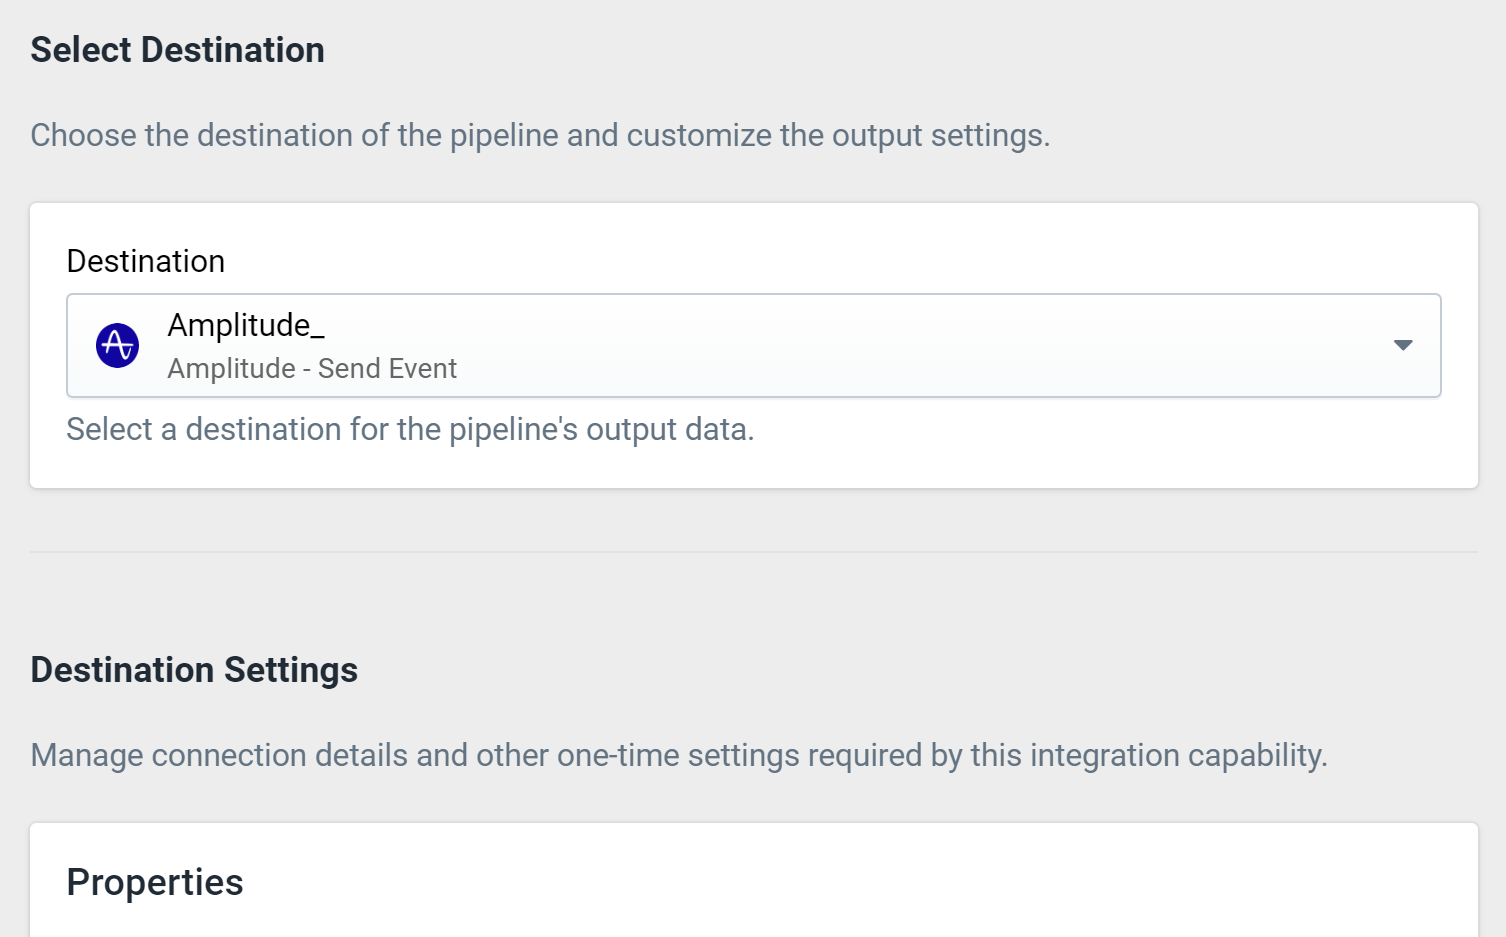
Figure 2: Destination Settings
The final part of setting up a Pipeline is selecting the destination and configuring the destination settings. The dropdown options include all enabled destinations as defined in Destinations. Once you select a destination, you have the option to edit the destination settings if allowed during the destination's setup. This customization is identical to the destination setting override capability in Automations.
For each Pipeline, you can only select one destination to send data. If you would like to send data to more than one destination, feel free to duplicate the Pipeline and select another destination. Depending on your specific use case, using an Automation can sometimes make more sense.