Appearance
Basic Widget Tutorial
Follow this tutorial to create a basic overlay merchandising widget. Before you get started, be sure to check out the prerequisites. Also make sure you are ready with a valid URL on your site.
1. Create from List
Start by navigating to the "Merchandising" section of the portal and click "Widgets" in the left-hand sidebar. You will see a list of widgets (possible empty). From here, click "Add Widget" in the top right corner of the screen.
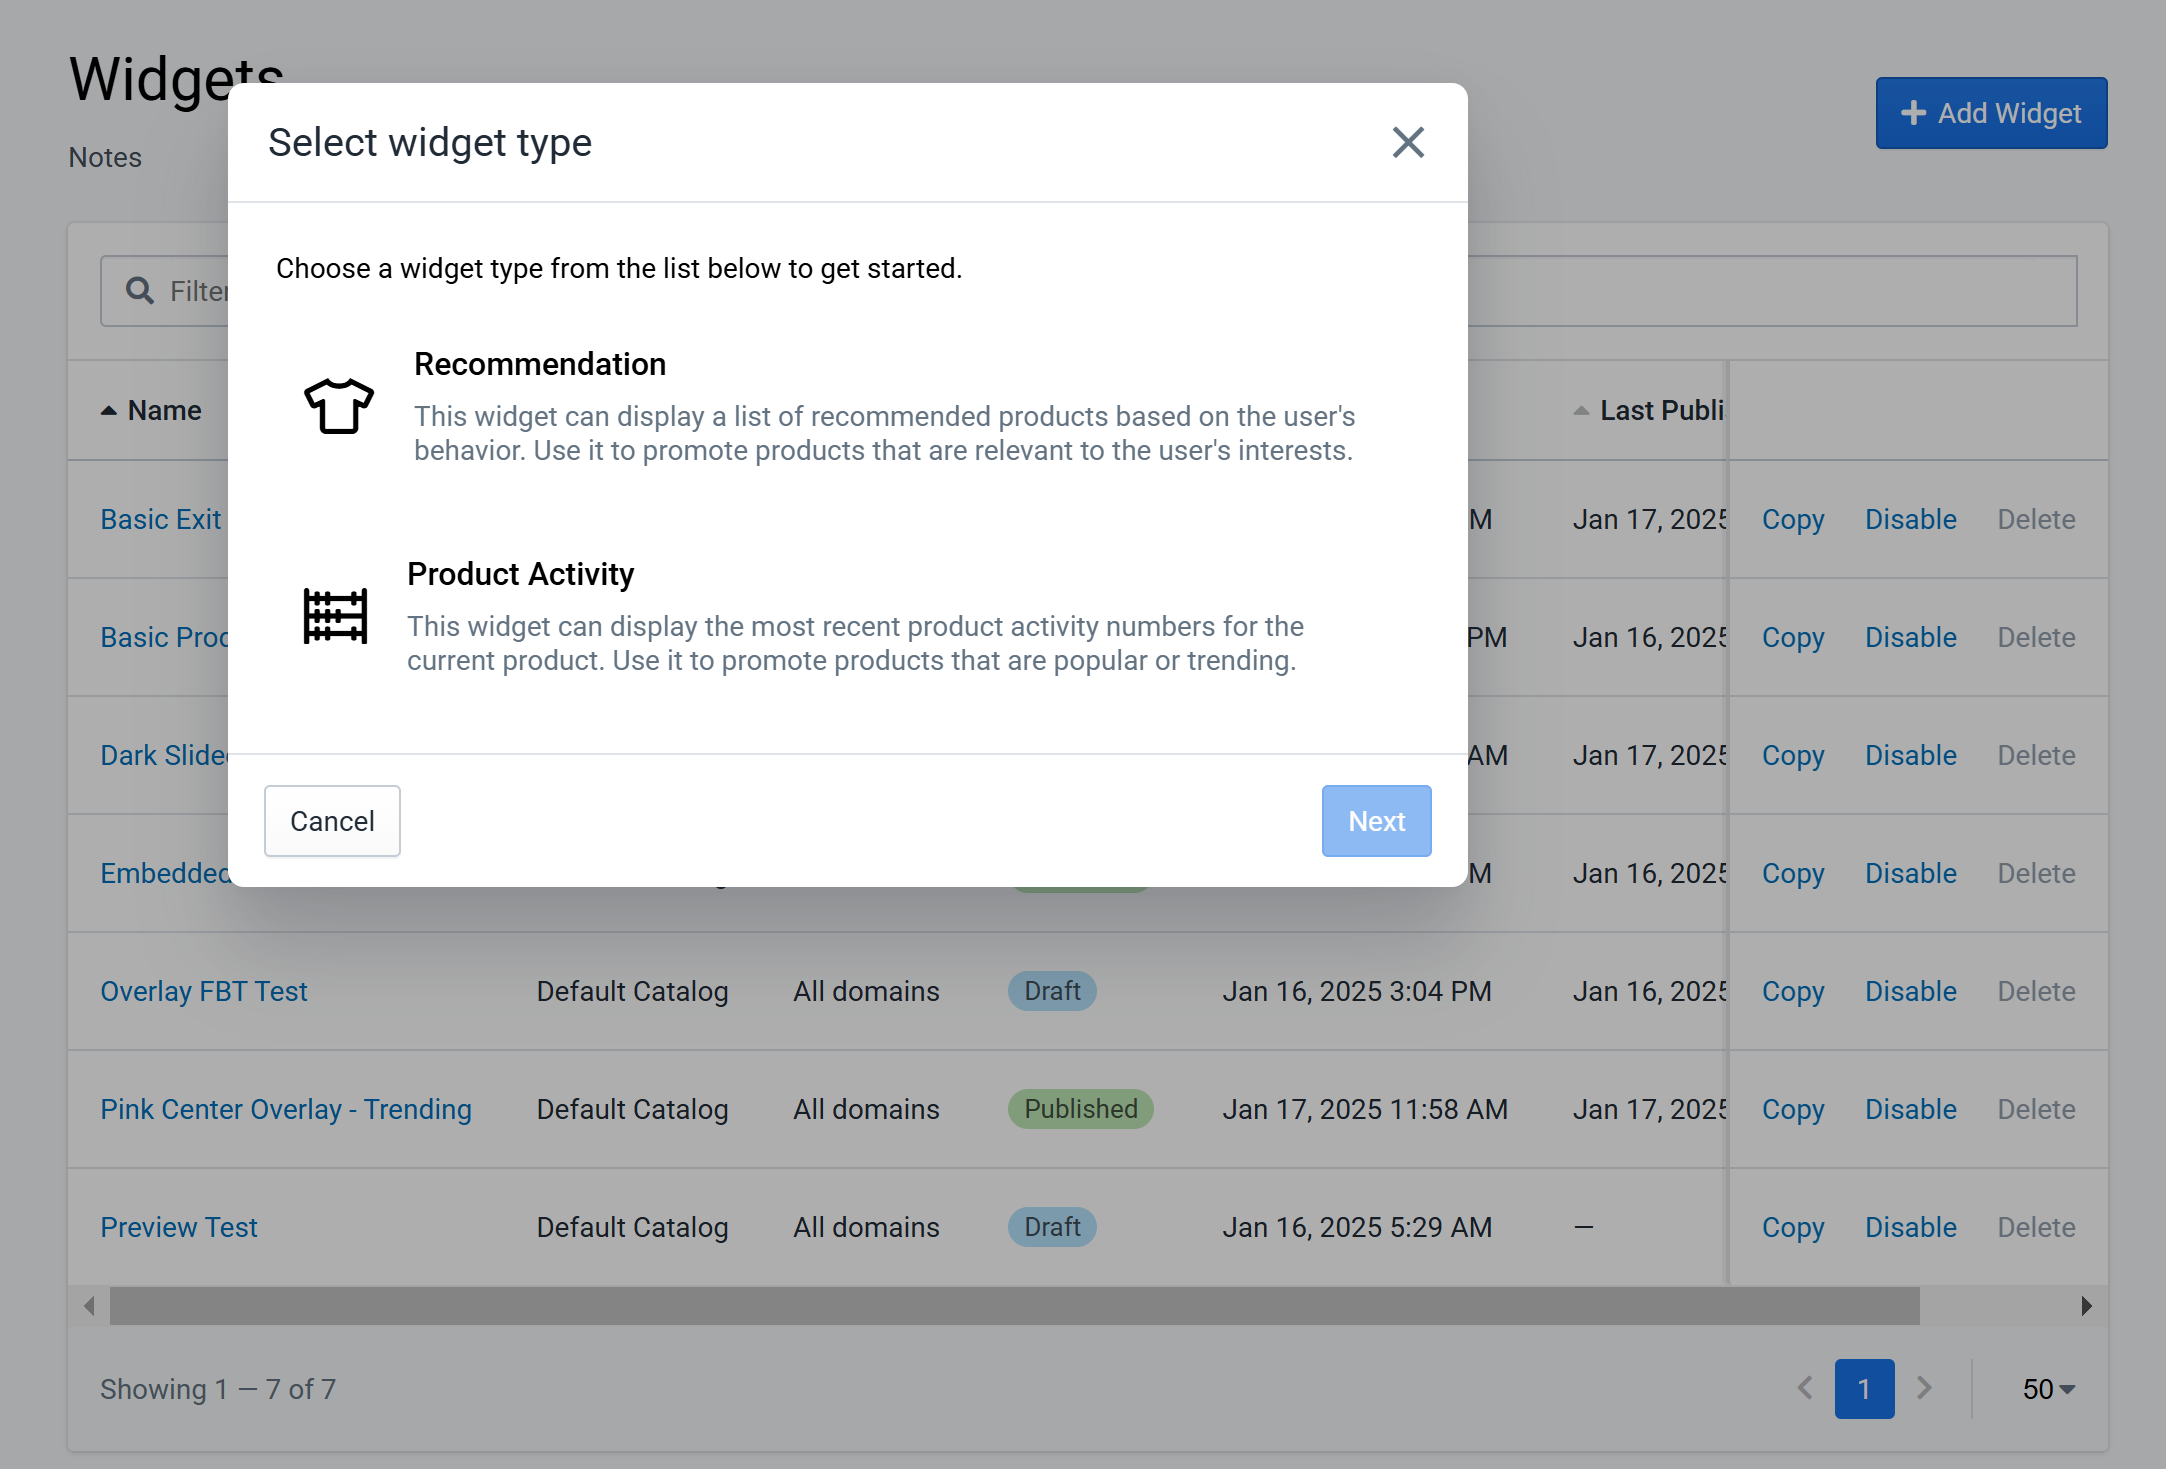
Figure 1: Create Widget
In the popup that follows, choose the "Recommendation" option and click "Next" to move to the next step.
2. Define General Settings
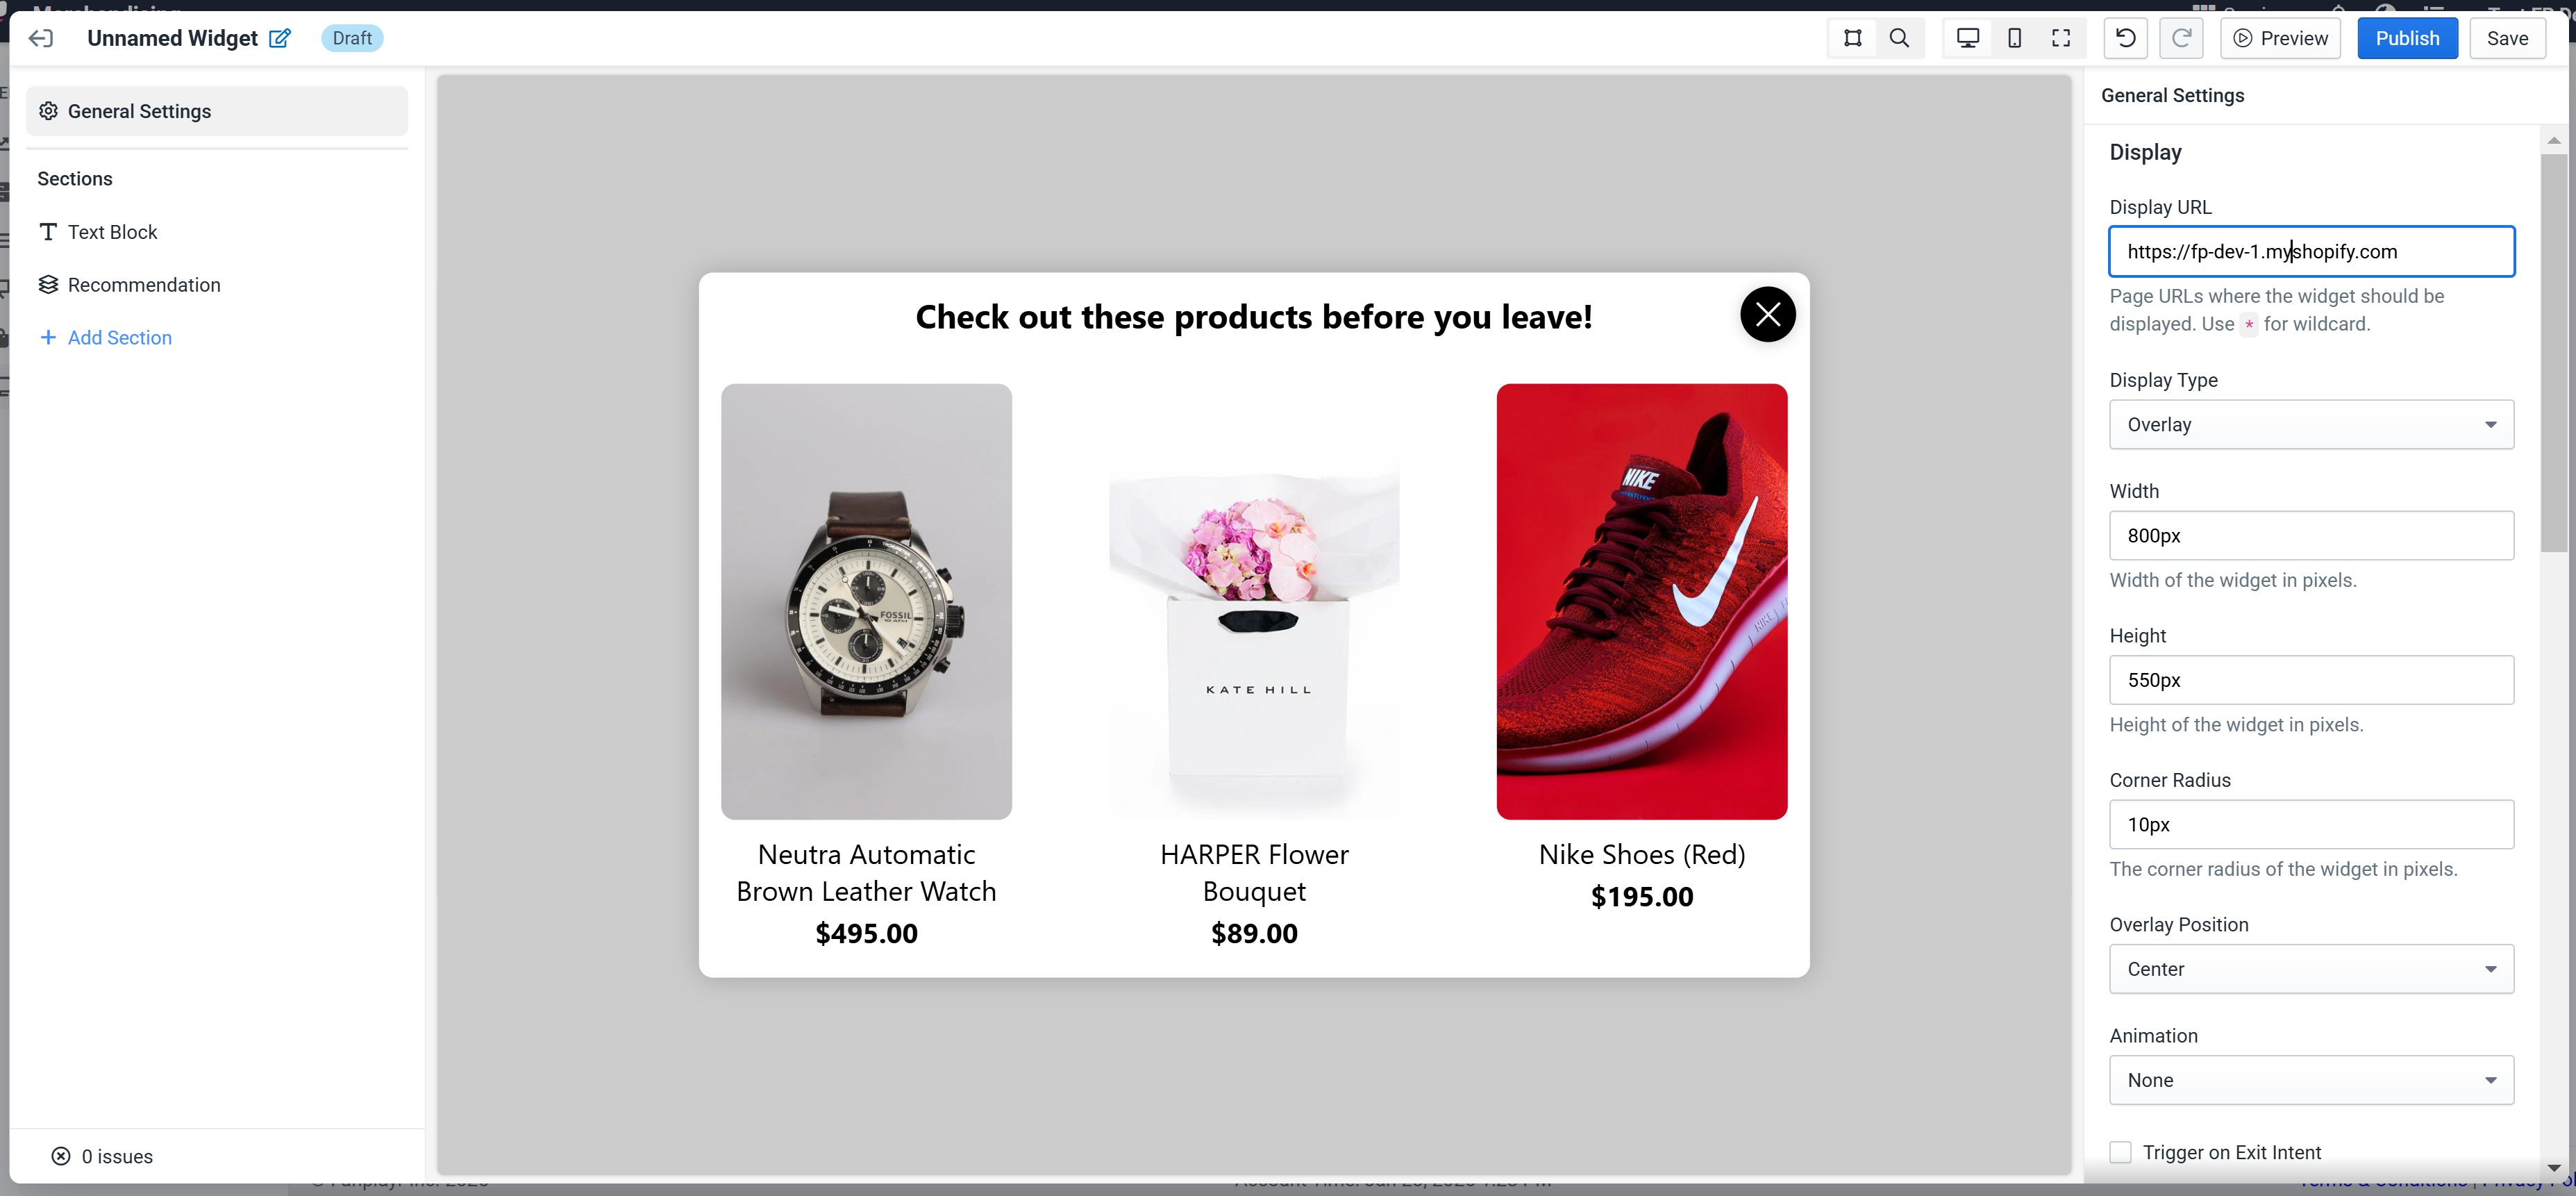
Figure 2: General Settings
Start by customizing the general settings of the widget. In this tutorial, you only need to edit two elements:
- Display URL: Set to a specific page on your website. For this tutorial, we set our to a test website at
https://fp-dev-1.myshopify.com - Trigger on Exit Intent: Scroll down and disable this setting.;
3. Select Product Source
Go ahead and click the "Recommendation" component on the left sidebar to see the product recommendations settings. Then, at the top of the settings sidebar, click "Change" at the "Product Source" setting. You should see the popup below.
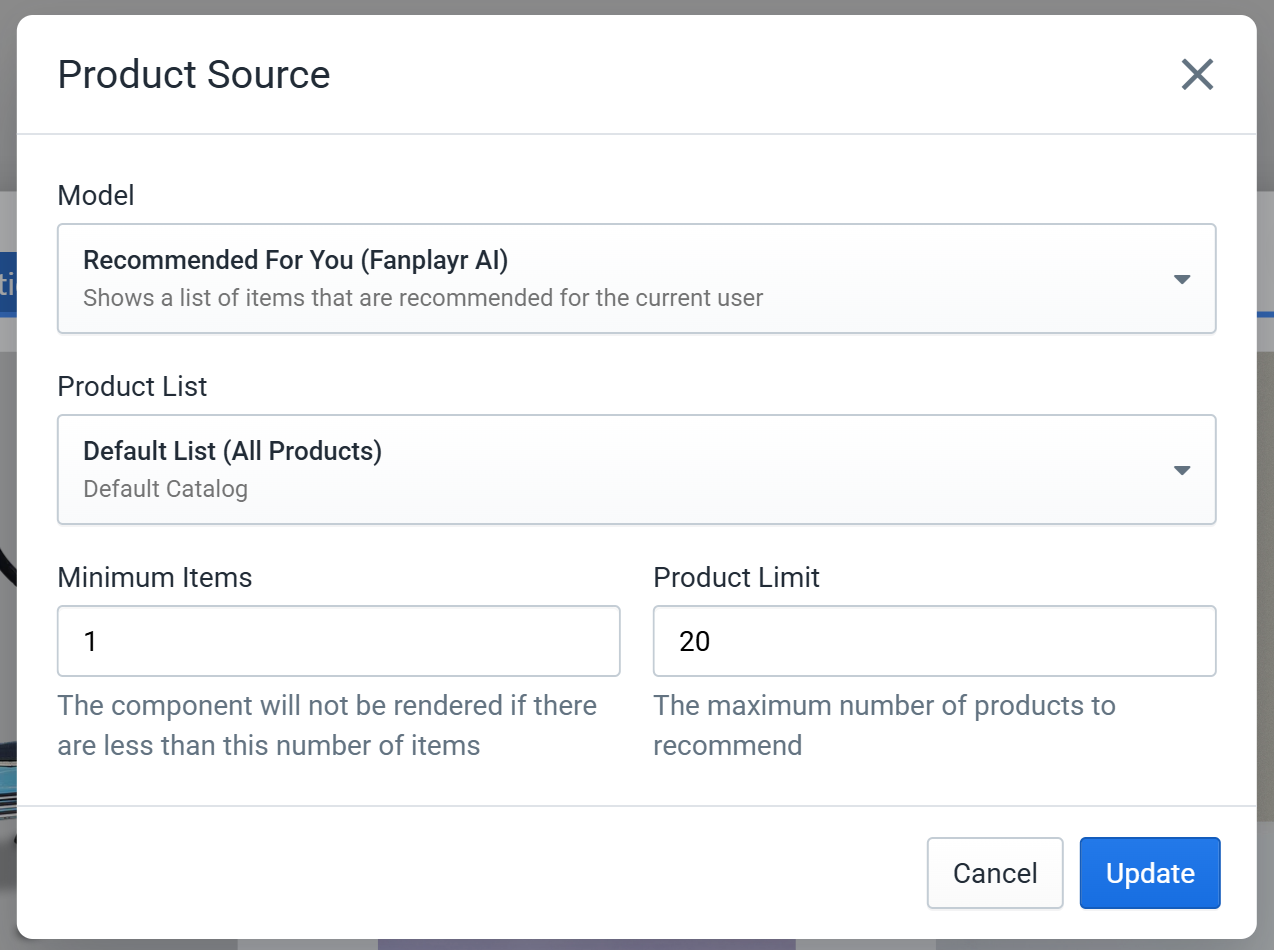
Figure 3: Product Source
In the first "Model" setting, find the "Recommended for You (Fanplayr AI)" model and select it. There is no need to edit the other settings. Click "Update" to confirm the changes.
4. Customize the Look
Now let's give the widget a unique flair. Below is the final version after some tweaking. After is a list of each change made from the default to achieve this look.
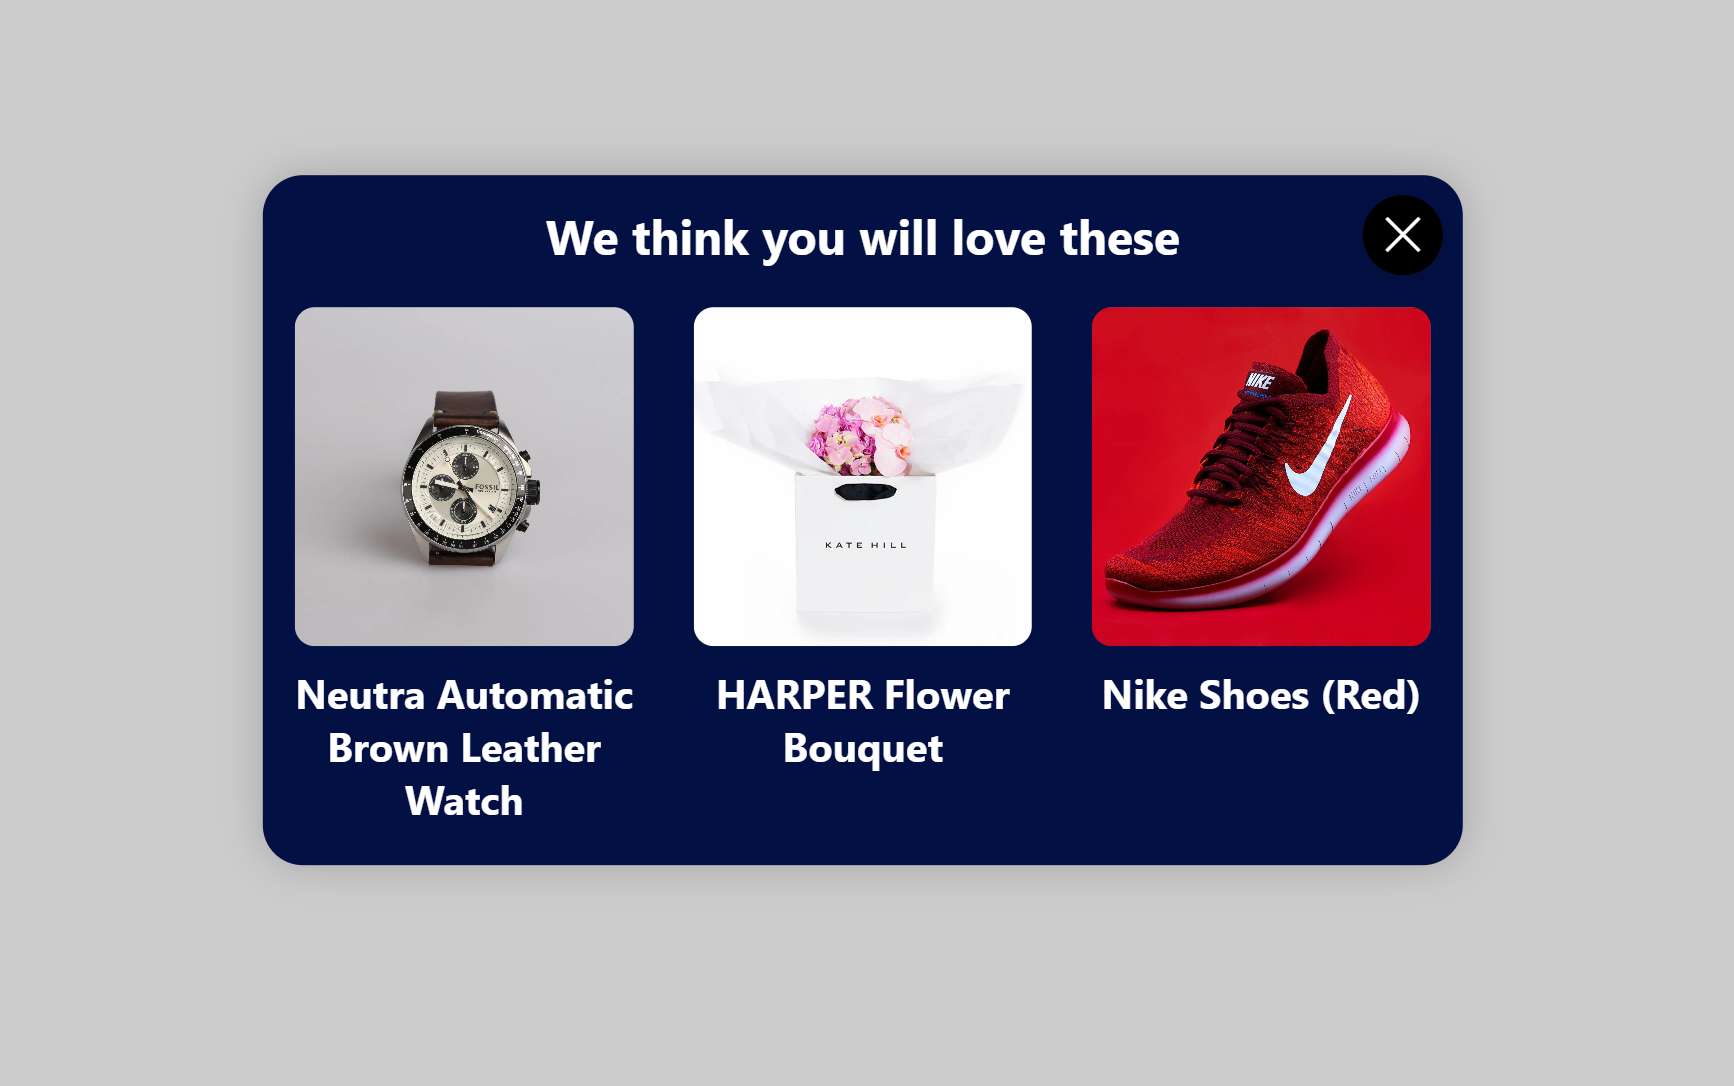
Figure 4: Updated Preview
In "General Settings"
- Set "Width" to 600px
- Set "Corner Radius" to 20px
- Set "Base Font -> Color" to white
- Set "Background Color" to
hex #031044;
In the first "Text Block" component:
- Edit the text "Content" to say "We think you will love these". Make sure the text color is unset.
- Remove "Bottom Padding" or set to 0
In the "Recommendation" component:
- Set "Image Shape" to Square
- Uncheck "Product Price"
- Click "Edit Style" on "Product Name";
- Make sure checkbox is ticked next to "Bold" in the following text style editor
- Set "Item Gap" to 30px
5. Publish
Feel free to continue editing to further customize your widget. Once complete, click on the edit icon in the top left corner to give your widget a name. This name is simply used to identify the widget in our system.;
Once you have set a name, click "Publish" in the top right corner to finally publish your widget to you site.
6. View
Navigate to the URL you defined in step 2 to see your newly published widget! It should popup in the middle of your screen a few seconds after the page loads.

Figure 5: Live Widget
Troubleshooting
I dont see the widget on my site
- Ensure Fanplayr's script is running on your site.;
- Double check your Display URL
- It's possible that the selected model returned no products. If no products are returned, the widget will not be shown. Similarly, if the selected model relies on a currently-viewed product, the widget will only show on product pages.
My widget looks a little different live than in the editor
- Live widgets inherit some CSS from your page, including most notably the
font-familywhich controls the look of your text. Look into using the Live Preview feature to see how your widget will look on your site before publishing.